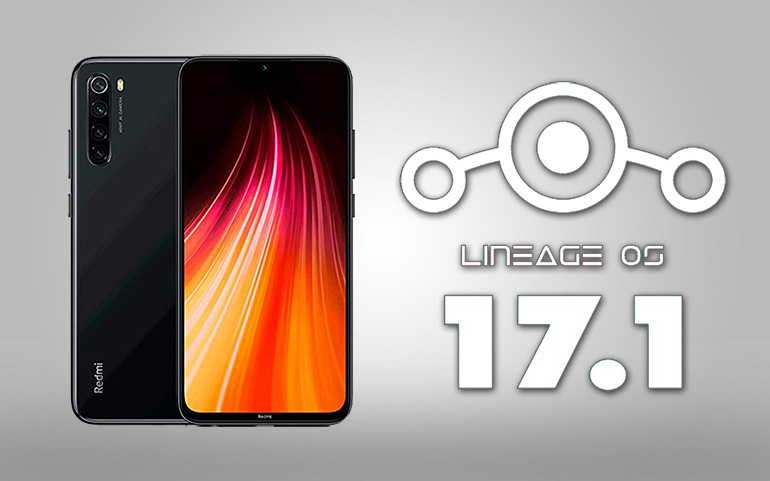
If you compare Realme 3 Pro vs Realme X, you can easily conclude that Realme 3 Pro is better in the camera, battery life as well as overall performance. Besides, Realme 3 Pro colors include Carbon Gray, Nitro Blue, and Lightning Purple. In addition, it comes with an impressive 4045 mAh battery with super-fast charging support. Most important, Realme 3 Pro is specially designed to take on the Redmi Note 7 Pro from Xiaomi.
How to Install LineageOS 16 ROM on Realme 3 Pro
In this tutorial, we’ll go through easy steps guide on how to update Realme 3 Pro RMX1851 to official Android 9 Pie-based LineageOS 16 custom ROM. In order to flash any custom firmware, the first thing to remember particularly is to unlock the bootloader. Furthermore, you must even root as well as install custom recovery on your device. On the positive side, we have mentioned all the steps to root, install TWRP, and unlock bootloader for Realme 3 Pro.
Disclaimer
Do this process at your own risk. Neither we at Droid Thunder nor the developers will be liable for any damage caused to your device by following this guide. Implement the steps carefully.
Compatibility
This LineageOS 16 ROM is only meant for Realme 3 Pro. Flashing this custom firmware on any other device or variant may cause permanent damage. Hence confirm your device before going ahead.
Pre-Requisites
Ensure that your phone is at least 50% charged.
Take a backup of your contacts, messages, apps, call logs, memos, etc. for safety. Install Realme USB drivers on PC so as to detect your phone when connected via USB cable. You must unlock the bootloader of your Realme 3 Pro. Also, root Realme 3 Pro before moving further. Besides, install TWRP recovery on your Realme device.
After doing as mentioned above, let’s flash LineageOS 16 ROM on Realme 3 Pro.
Downloads
LineageOS 16 GApps
Steps to Install LineageOS 16 ROM on Realme 3 Pro
Open phone Settings. Tap on About Phone. On the next screen, tap 7 times on the Version to unlock developer mode. Tap on it until a message saying, ”You are now a developer” shows. Go back and open Additional Settings. Scroll down and tap on Developer options. On the next screen, enable the USB debugging option. Copy both the downloaded files on your phone. Power off your Realme 3 Pro and boot it into TWRP recovery. For that, press and hold the Volume down + Power button simultaneously. Leave both the keys now. Just press Volume keys until you see the Recovery mode option at the top. Now press the Power button to start the recovery mode. If you are not able to boot into recovery, use the TWRP Manager app. As soon as you boot into TWRP, the first thing you need to do is to take Nandroid backup. This is the backup of your entire operating system. In TWRP, tap on the Wipe option. On the next screen, swipe in the right direction to initiate the factory reset process. This step will delete all your phone data so make sure you have backed up everything before performing this step. Go back and again tap on the Wipe option. On the next screen, tap on Advanced Wipe option. Just check Dalvik/ART cache, System, Data, and cache partitions. Do not check the Internal Storage partition. Swipe right to begin the wiping partition process. Let’s start the installation of LineageOS 16 ROM on Realme 3 Pro. For doing so, tap on the Install option from the main menu. This will show your entire phone data. Simply select the Lineage OS 16 ROM which you’ve copied earlier. On the next screen, swipe right to start the ROM flashing process. Similarly, flash the Google Apps zip package file. Finally, everything completes here. Simply select the Reboot > System option to restart your Realme 3 Pro. The first boot will take more time to start than usual.
Conclusion
Finally! This is how you can install the latest official Lineage OS 15 custom ROM on Realme 3 Pro RMX1851. Enjoy and experience all-new features of LineageOS with this ROM. For any queries, do comment below. Notify me of follow-up comments by email. Notify me of new posts by email.
Δ


